
SSO Integration- How it works
fax supports SAML 2.0 single sign-on, letting your users sign in to the Sfax web portal with their existing company credentials through your identity provider (IdP). This page covers the concepts that apply to every provider. For step-by-step setup, use the provider-specific guides at the bottom of this page.
How Sfax SSO Works
- The Sfax Username must be the user's email address, and the SAML NameID your IdP sends must match it exactly, including letter case. Sfax uses the NameID (email / user principal name) to find the user. A username like John.Doe will not work; it must be john.doe@company.com.
- The SAML assertion must be signed. Your IdP must sign the SAML assertion with its token-signing certificate, and that certificate must be entered in Manage SSO. Signing the full SAML response as well is optional.
- Sfax recommends IdP-initiated SSO. Your IdP POSTs the signed assertion directly to the Sfax ACS endpoint, and users launch Sfax from the IdP portal or app tile. SP-initiated SSO is also supported, but IdP-initiated is the recommended flow and avoids the most common setup errors (see Troubleshooting, below).
Configure SSO in the Sfax Portal
Sign in to the Sfax Admin portal and go to Settings › Manage Integrations › Single Sign-on. In the Manage SSO table, complete the fields below. Every value except SSO State comes from your identity provider when it sets up a SAML connection to Sfax.
| Manage SSO field | What to enter |
|---|---|
| SSO State | Set to Enabled or Disabled for this account. When Enabled, users set up for SSO are directed to the Single Sign-on URL below. |
| IdP Name | Your identity provider's identifier URL. It may be labeled Issuer in your provider's settings. |
| Single Sign-on URL | Your identity provider's sign-on URL. |
| Log Out URL | Your identity provider's log out URL. |
| X.509 Certificate | The signing certificate provided by your identity provider. |
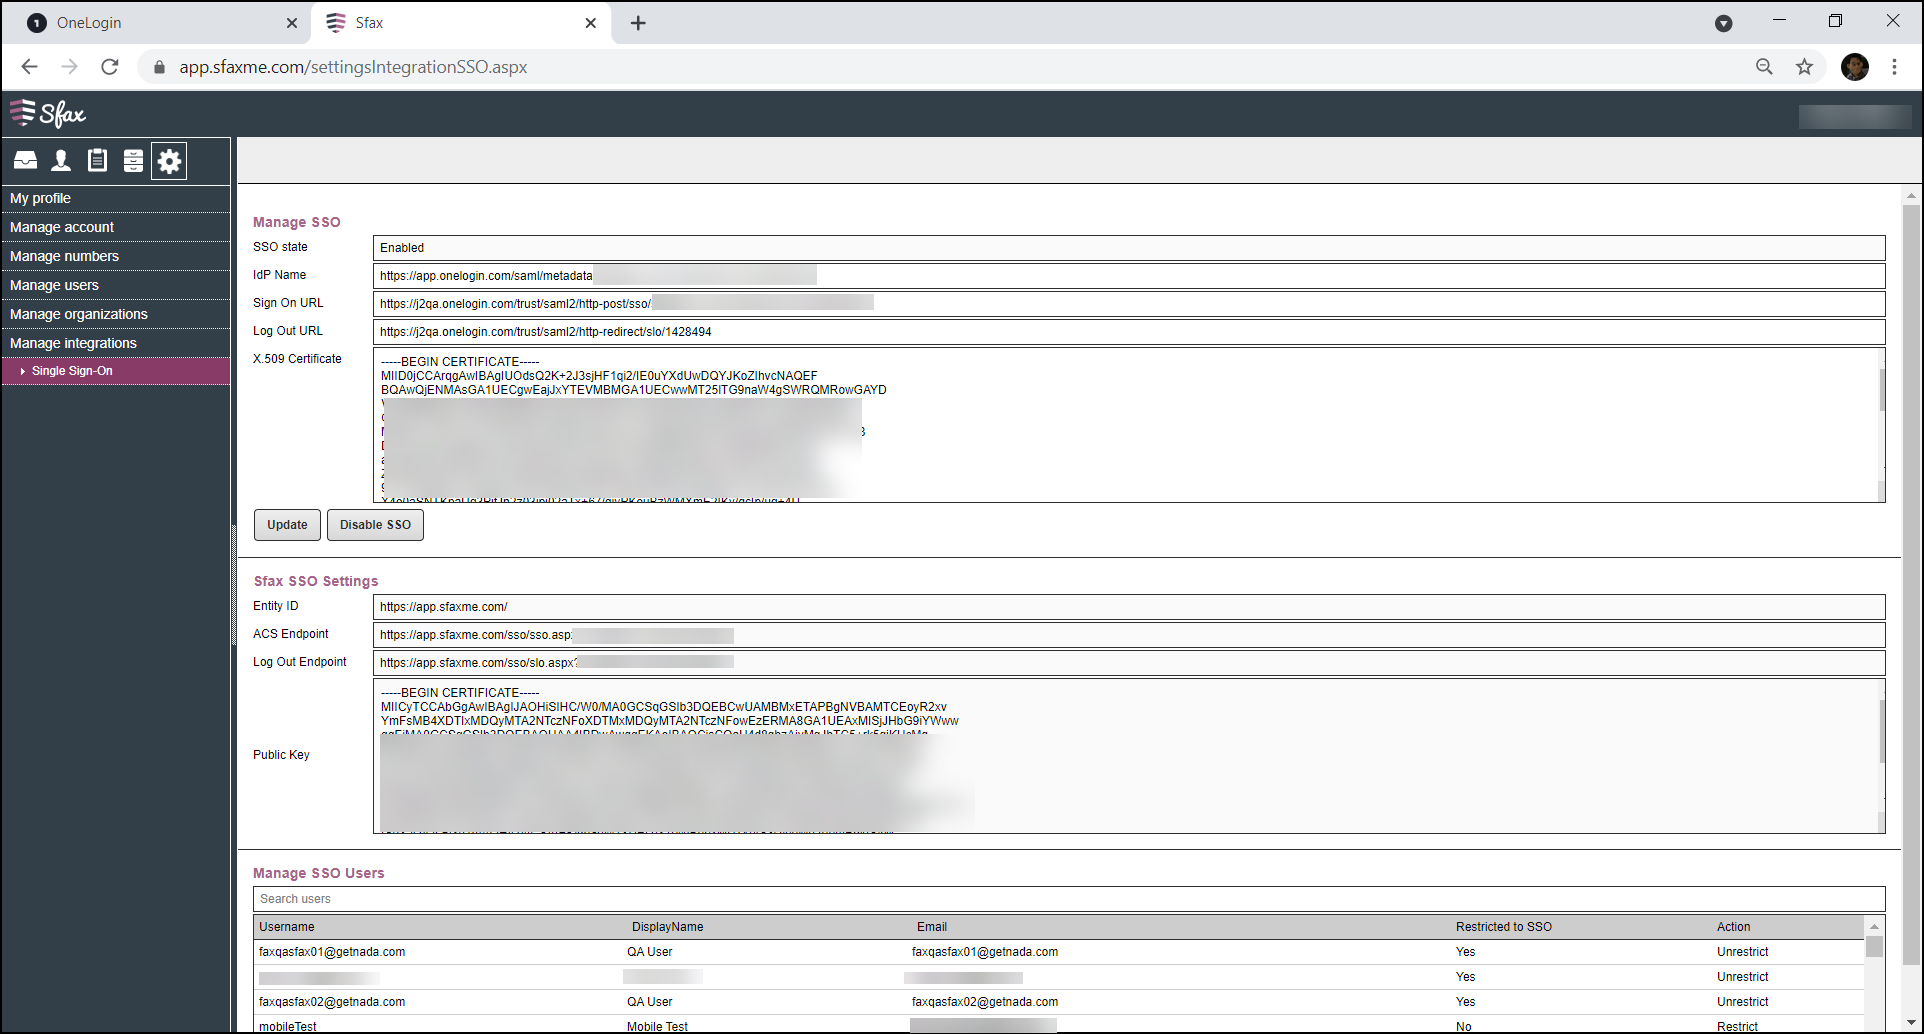
Click Update. Sfax then generates the Sfax SSO Settings below. Provide these values to your identity provider to complete the SAML connection (use the Copy buttons below to copy the URL to your local clipboard).
| Sfax SSO Setting | Value |
|---|---|
| Entity ID |
The application name. https://app.sfaxme.com/
|
| ACS Endpoint |
Where the identity provider sends the SAML sign-in response. https://app.sfaxme.com/sso/sso.aspx
|
| Log Out Endpoint |
Where sign-out communication takes place. https://app.sfaxme.com/sso/slo.aspx
|
| Public Key | The Sfax SSO certificate used to secure the SAML message between Sfax and your identity provider. |
Once your identity provider has the Sfax SSO Settings, click Enable SSO.
Configure Users for SSO
Scroll to the Manage SSO Users table at the bottom of the Single Sign-on page. Use the Search field to find a user.
- Each SSO user's Sfax Username must be their email address (see the rules above).
- Click the value in the Action column (Restrict or Unrestrict) to set the user's sign-in options. A user Restricted to SSO can only sign in with SSO; an unrestricted user can use SSO or a username and password.
- Adding a user to the application in your identity provider does not create the user in Sfax - a Sfax administrator must still create the user with the Username set to their email.
Enforce SSO
Go to Settings › Manage Integrations › Single Sign On via SAML and click Activate. For SSO to work, both this Activate toggle and the Enable SSO setting on the Single Sign-on page must be turned on.
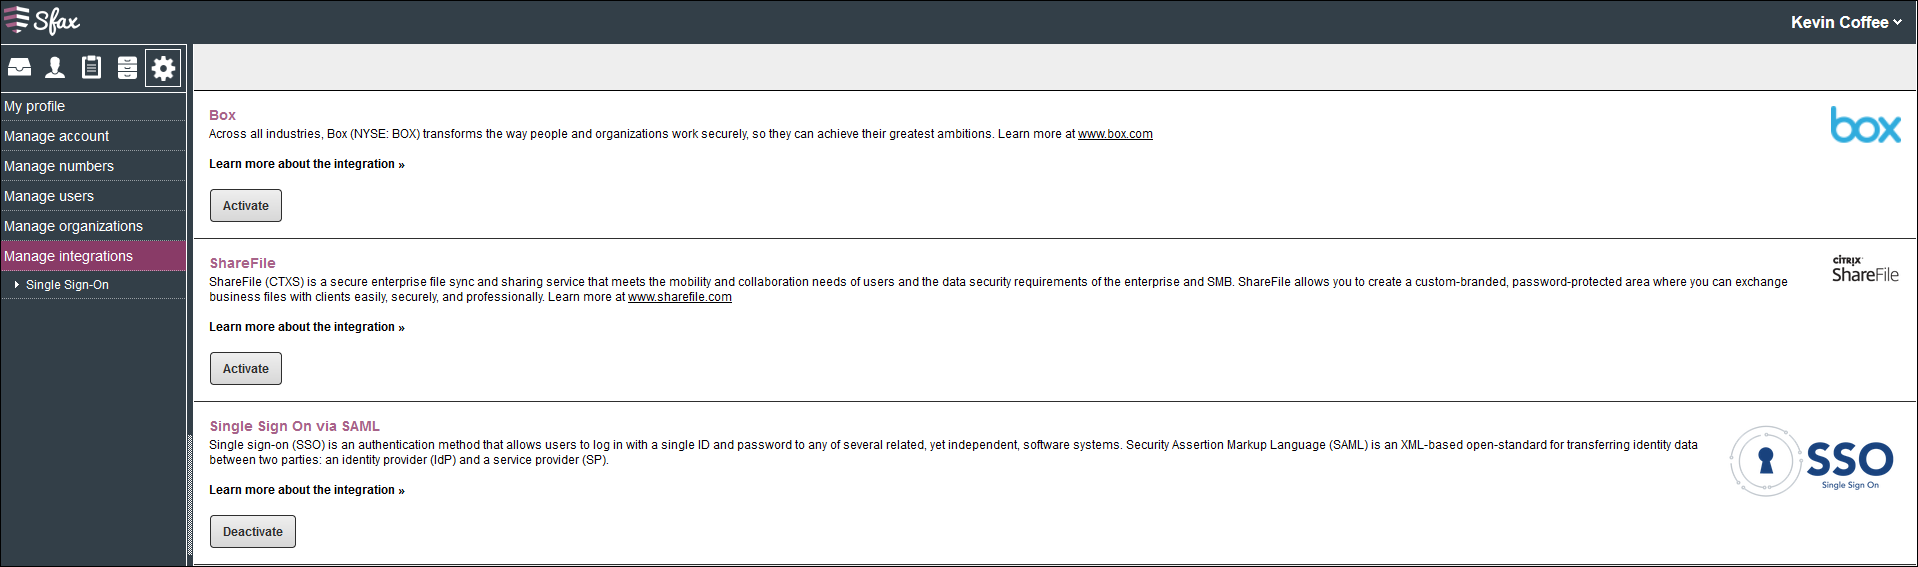
When SSO is active, users sign in from your identity provider's portal, or at https://app.sfaxme.com/ssoAppLogin.aspx.

When SSO is not active, users sign in at https://app.sfaxme.com/.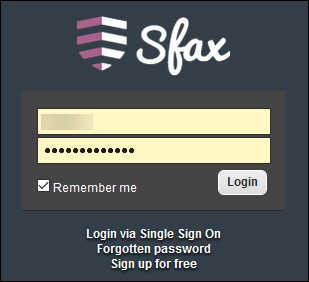
Certificate Rotation
Troubleshooting
| An unexpected error occurred while processing the login request from your identity provider
|
Most common cause: a Sign on URL and/or Relay State is populated in the IdP app (typical in Microsoft Entra), which forces an HTTP GET redirect instead of the POST the IdP-initiated flow expects, so the request is rejected. Fix: clear those fields and launch Sfax from the IdP portal so the IdP POSTs the assertion.
Also possible: the IdP signing certificate expired or rotated and no longer matches the certificate in Manage SSO. Fix: re-enter the current certificate. |
| Login loops back to the “access from your IdP” page | The IdP is sending the user to ssoAppLogin.aspx via a redirect instead of POSTing an assertion - usually because a Sign on URL / Relay State points at a Sfax URL. Fix: clear those IdP fields and launch from the IdP app tile.
|
| One user cannot sign in while others can | Their Sfax Username is not their email, or it does not exactly match (including letter case) the NameID the IdP sends. Fix: set the Username to the email address and confirm the NameID the IdP emits.
|
| What to include when you contact Sfax support | If you need help, contact Sfax support with the affected user's public IP address and the exact time of the sign-in attempt so the sign-in can be reviewed. |
Provider-specific Setup Guides
Select your identity provider for exact field names and common pitfalls.
- Microsoft Entra ID (Formerly Azure AD)
- Okta - SAML app integration
- Google Workspace - Custom SAML app
- AD FS - Relying party trust
- PingOne - SAML application
- OneLogin - SAML Custom Connector